Let's cut to the chase: Common Threads.

We met at Karan's on Thursday. Margareth came fully equipped to draft some patterns.
Georgette had just started this needlepoint project.

Ginny has made some progress on this needlepoint design.

Karan had finished this redwork quilt before Christmas.

I showed off my finished "Peggy's Sistine Chapel," which this group hadn't seen yet. I was working on a pullover for Vroni for her birthday. Lynda was knitting a sock, but she frogged it before I could get a photo.
Mandy came along to supervise me and to show off the slacks I made to go with the pullover for Vroni. (Mandy was my model, so as not to spoil the surprise.) The sweater she's wearing is my "Wonderland Turtle," not the surprise pullover.

I had to alter a pattern, so did a dry run with a different fabric. I discovered that I couldn't just fold the fabric over, cut out through two layers and then be able to match up the pattern (stripes). However, the fit looked good.

When I used the fabric I planned on, I was able to get the stripes to match fairly closely by cutting out one pattern piece at a time, rather than two layers, then matching the second one to first before cutting it out. Here's an example of what I did (with different fabric). You can just barely see the paper pattern (I use freezer paper) under the first piece I cut.

I turned the fabric over to cut out the second one. This is important because the stripes may not always be symmetrical, and with this fabric it was even more important, because it was a brushed cotton, so the sides of the fabric were not the same. (If your fabric is the same on both sides, make sure when you sew the pocket facings on the fronts that you aren't making two identical pieces. I did that once. You want mirror images.)

In the photos it looks black and white, but there is a little strand of turquoise running through it.

The pattern for the pullover was Cataddict's Steampunk Blouse. (Not a download, but I could copy and paste.) Here's how Vroni looked in the finished outfit, with her birthday shoes and necklace. (The necklace was made from an orphaned earring, some chain, rings and clasp from Michael's.)

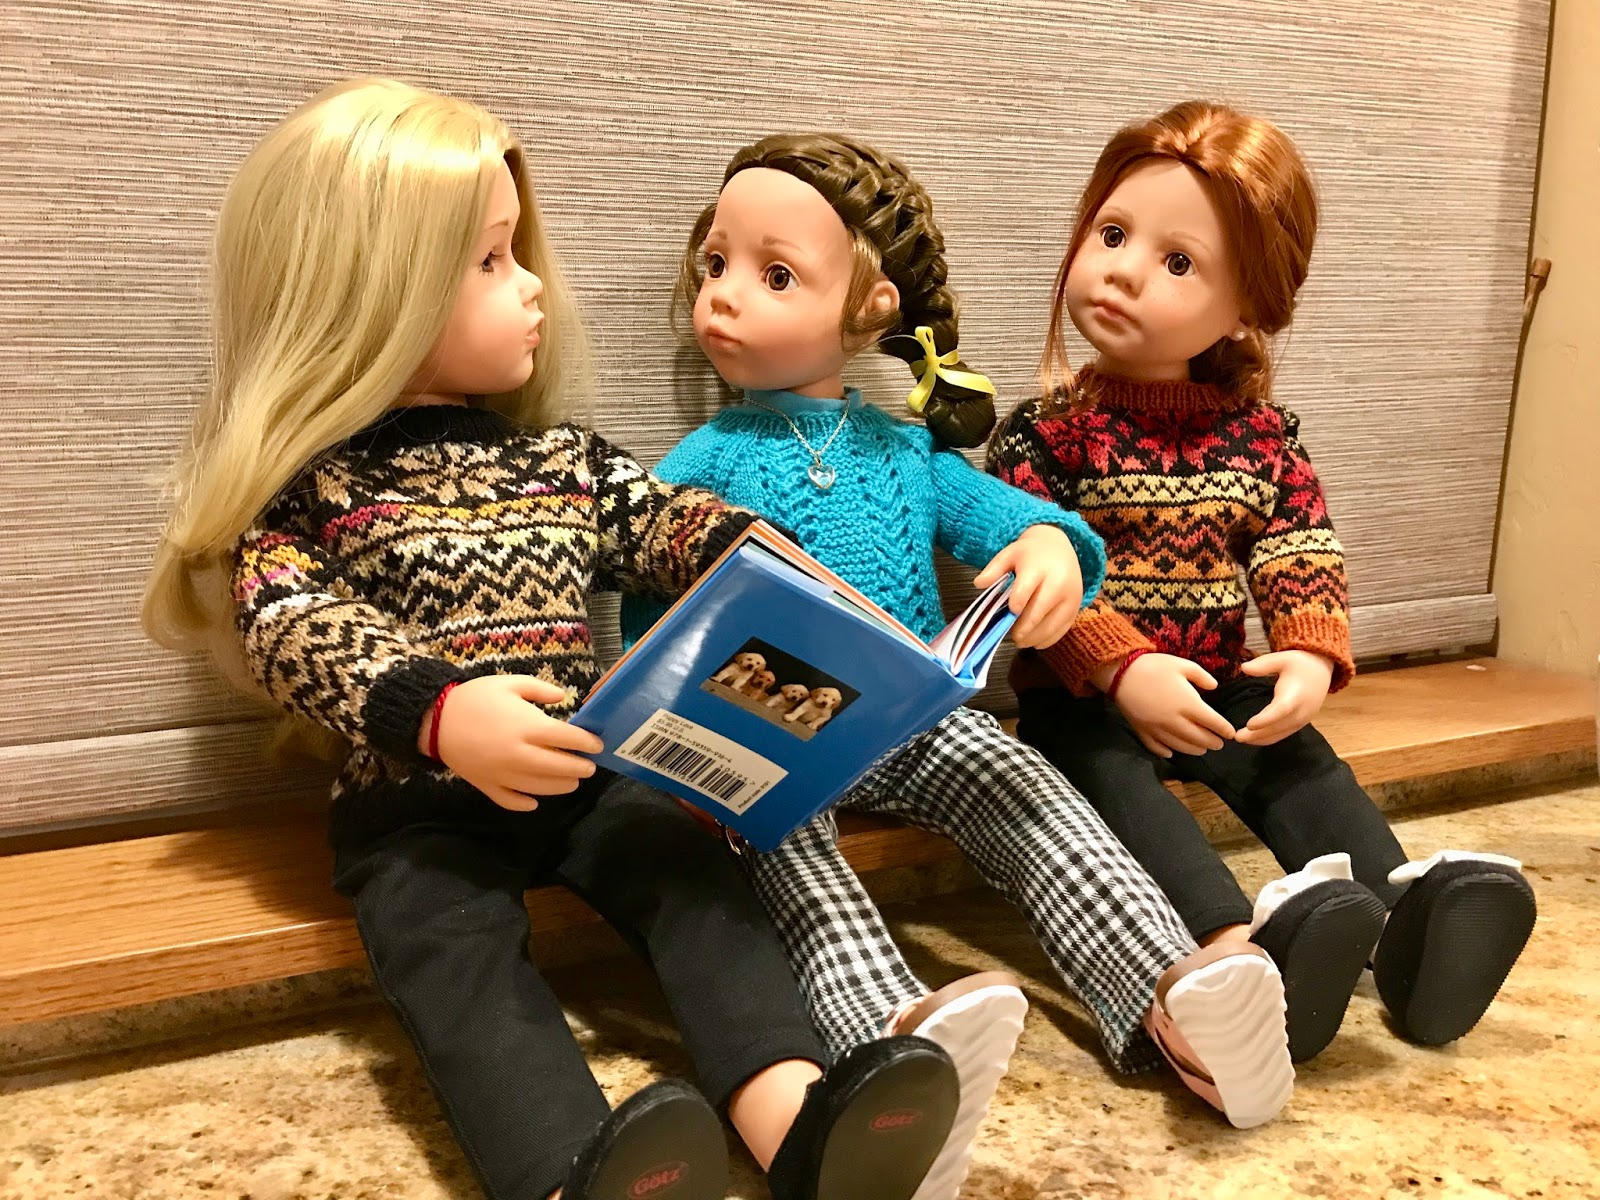
I wrote a little story about Vroni's birthday party (photojournalism). I won't take up time/space here, but you can find the whole story here. One of Vroni's presents was a picture book, which the girls read and discussed. (How do you discuss a picture book? Maybe they were discussing why Matti gave Vroni a book called Puppy Love.)
To reward Mandy for doing such a great job helping me by acting as my model, I made her a pair of slacks on Saturday, using the same pattern. I also have the same pullover on the needles for her, but in Turmeric, sort of a soft gold. It will look good with the colors in her slacks.

For the slacks, I started out with the Pixie Faire's Boot Cut Jeans pattern. It's designed for American Girl dolls, so it's a bit too big for Götz dolls, like Vroni and Mandy. Also, the legs were flared, and I wanted them straight. I discovered that I could use the pattern for the front and front pockets exactly as it was designed, but I could remove the flare in the leg and some of the width in the...um...bottom...by making a new pattern piece for the back. The original pattern also had a top-stitched fold and back pockets, which I didn't think I needed, so I accounted for those as well, and the center-back seam had a strange kink in it, required by dolls with...um...stuffed bodies. I ended up with this. (Grid lines are 1".)

Feel free to use my "pattern," and the waistband is also smaller. In case you can't read it, you cut a piece on the bias, 11" X 2". Then follow the directions in the original Pixie Faire pattern.
Another person on Ravelry, "Weavespinner," made my first Fair Isle cardigan pattern. We had a few chats on the phone, so she would feel certain of what I meant in my instructions. Then she cut the steeks, knit the neck band, button band buttonhole bands, then picked up and knitted the sleeves. On Saturday, she posted this photo.

It's very exciting* for me to see my little designs show up from time to time, but the steeking project is special, because I know each person who makes one of these doll sweaters has learned a new skill (if they've never steeked before). She used colors similar to the sweater I made for Vroni, and I think she did a wonderful job, rating the famous "Steeking Badge," made for me when I made my first steek, by NoKnitSherlock on Ravelry. (Steeking badges? We don't need no steeking badges!)

But I did.
We visited Run-A-Muk Dog Park twice this past week, and when we were down in Salt Lake City to visit the upholsterer, we took the pups to Big Cottonwood Park, where they ran and played on grass with other dogs. Run-A-Muk doesn't have much grass right now, but it isn't covered with snow, either. More like slush and mud, so Run-A-Muk lived up to its name. I guess it will be a short winter for us.
Oh, and we probably will have to refinance our home to get the reupholstering done...on two Finnish armchairs. Watch for them about March.
*Seriously, this is really exciting for me.
What's on my needles: ZickZack Scarf, but I think I'm going to frog it. I'm finding it takes more concentration than I can handle without having lots of stuff going on (ADD issue). Also Mandy's Steampunk Blouse pullover.
What's on my Featherweight: Doll pants, shirts and skirts.
What's on my loom: Scarf to use up last of the warp.
What's on my wheel: Stanzi is hiding under the bed.
What's on my iPad/iPhone: Finished Never Let You Go by Chevy Stevens, a Deal of the Day from Audible. Now listening to Murder on Black Swan Lane by Andrea Penrose.
What's in my wine glass: Twisted Old Vine Zinfandel 2014. Appropriate for drinking while spinning. (Maybe that's why Stanzi is under the bed?)
What's my tip of the week: It will be easier to get seams to match if the seam allowance that’s on top goes toward the needle as you sew and the bottom seam allowance goes away from the needle. With quilting, you can't always do it this way, but if you can't, a pin will help. Being aware that the seams nestle together better that way helps know when you need pins. This also goes for any sewing project (like doll clothes) where you don't press the seams open. (That's a whole other story.)
Note: This blog post was produced on the iPad and the MacBook, using the iPhone for some photos and some photo processing. No other computer was used in any stage of composition or posting, and no Windows were opened, waited for, cleaned or broken. No animals or dolls were harmed during the production of this blog post.
No comments:
Post a Comment