Patterns from The Doll's Storybook
Pippa's Hooded Sweatshirt and Pants
(To fit Götz Little Kidz)
Materials:
1 pair girls' size XL14-16 full-length leggings
Separating zipper (any size, as it will be cut to fit); thinner is better if you can find it.
Cotton yarn or string that matches or coordinates with your leggings fabric, at least 20" for the hood and 16" for the pants. (There is no need to cut it first.)
1/4" elastic for the pants waistband (7", but it will be easier if you don't cut it first).
Matching thread.
You will also need a yarn needle with a big eye to thread the drawstring through the hood casing. (A tiny safety pin will work if you don't have one.)
A medium-size safety pin for feeding the elastic through the pants casing.
You may need good light to tell which is the right side of the fabric.
Note: I use freezer paper for my pattern pieces because I can iron them onto the fabric, shiny side down, and they will stay. I use a rotary cutter to cut the straight lines, then pin and cut the curved lines with scissors.
I have lined the pockets and hood. If you like, you can hem the pocket opening and fold over the top and the bottom before sewing the pockets on. You can make a simple casing on the front of the hood with a buttonhole at each end for the tie and do away with the lining. You could also imbed the neck front and back pieces between the layers of the hood for a more finished look. I was too lazy. If you sew this for a taller or shorter doll, you can lengthen the pants, sleeves and body easily. There is no need to change the pocket.
Instructions: Print pattern at 100%. Make sure the 1" gauge measures 1"
Turn the leggings inside-out and cut the seams off. (The elastic at the top can stay. It won't be in the way, but you will need to cut it to get to the seams.)
Cutting:
Fold one leg of the leggings in half vertically so that the grain lines follow the fold. Place the front, back, sleeve, pocket and bottom ribbing on the folded fabric. The photo shows how I placed them.
You may have room for the second pair of pocket pieces in the area next to the front piece. Cut out the pattern pieces, including the second pair of pocket pieces.
(One pair of pocket pieces can be cut across the grain, if you want. These can be used for the lining. Just be careful when you sew them together to put them on the inside.) Here's how I did it, because it saves fabric, and sometimes there's enough left to make something else for a doll.
Open the remaining leg fabric and fold it horizontally, matching up the grain lines. You will cut the hood piece out twice.
There will be enough room to cut out the sweatshirt cuffs from the remaining fabric after cutting out both hood pieces. Each piece will make cuff ribbing 3" X 3/4".
Fold the other leg vertically or horizontally to find fabric big enough to fit the sweatpants piece.
After cutting out the pants, cut the cuffs out of remaining fabric, making sure the grain is running in the right direction. They will be 1 1/2" X 4".
Sewing:
Sweatpants:
(Note: With the exception of the cuffs, these sweat pants are made the same as the pajama pants. The pattern piece has been shortened to make room for the cuff at the bottom. I recommend pressing each seam as you sew.)
Before putting the pattern aside, make a small mark within the 1/4” seam allowance on the wrong side of each piece to indicate which seam is the back.
Pin the two front curved edges together. Repeat for the back. Sew front crotch seam with a 1/4” seam allowance. Repeat for back crotch seam. Press seams flat to set the seam. Do not press open.
Finish both seams with zigzag or using a serger, connecting the raw edges. There is no need to clip curves.
Turn to the right side and press both seams to the left. In other words, press the front seam to the left, then turn your work over and press the back seam to the left. The opposing seams will be going in opposite directions as you look at your work. (This is important for having the front and back seams nestle together and for inserting the elastic easily.)
Match crotch seams and pin with the two seams nestled together, so that both seams go in the direction they were pressed and opposite from each other. (If they don't nestle together, now is the time to fix it.) Pin the leg edges together, matching the leg edges at the bottom.
Starting at the bottom of one leg, sew a 1/4” seam up that leg, through the crotch and down the other leg. Finish with zigzag or serger.
Turn to right side and press seam toward the back.
Turn under waist edge 1/4” and press. Turn under again an additional 1/2” and press.
Pin casing hem in place, making sure the crotch seams are still in the direction they were pressed. (If you pressed them to the right instead of to the left, you can still insert the elastic easily, but from right to left. However, make sure one of your seams didn't flip over at the waist. It could be difficult to get the elastic through the casing where you have to cross the front seam.)
Starting about 1/2” from the back seam, sew close to first fold for elastic casing, leaving about 1” open between beginning and end, finishing about 1/2” from back seam. (You don't need to measure; just leave enough space to insert the elastic.)
Mark elastic at 7” but do not cut.
Attach safety pin to the end of the elastic you measured from. Use safety pin to thread elastic through casing and out the other end.
Remove safety pin and match that edge of the elastic to the mark you made when you measured, pulling both ends of elastic out as far as possible, but making sure the elastic is not twisted. Keeping the two sections of elastic even, sew close to the mark, backstitching several times. Now you can cut off excess.
Adjust elastic back in place in the casing, and starting from the upper edge of the waist, sew down to the casing seam already made, then pivot and sew along the casing to where you started sewing the casing, pivot and sew up off the upper edge of waist. This will make it easier to tell which is the back of the pants until you get the optional “drawstring” bow on, and will avoid having to backstitch.
Take the two cuff pieces and sew the short edges together. Press seams open.
Fold the resulting cuff tubes wrong-sides-together and match up raw edges. Press well. A little steam is helpful.
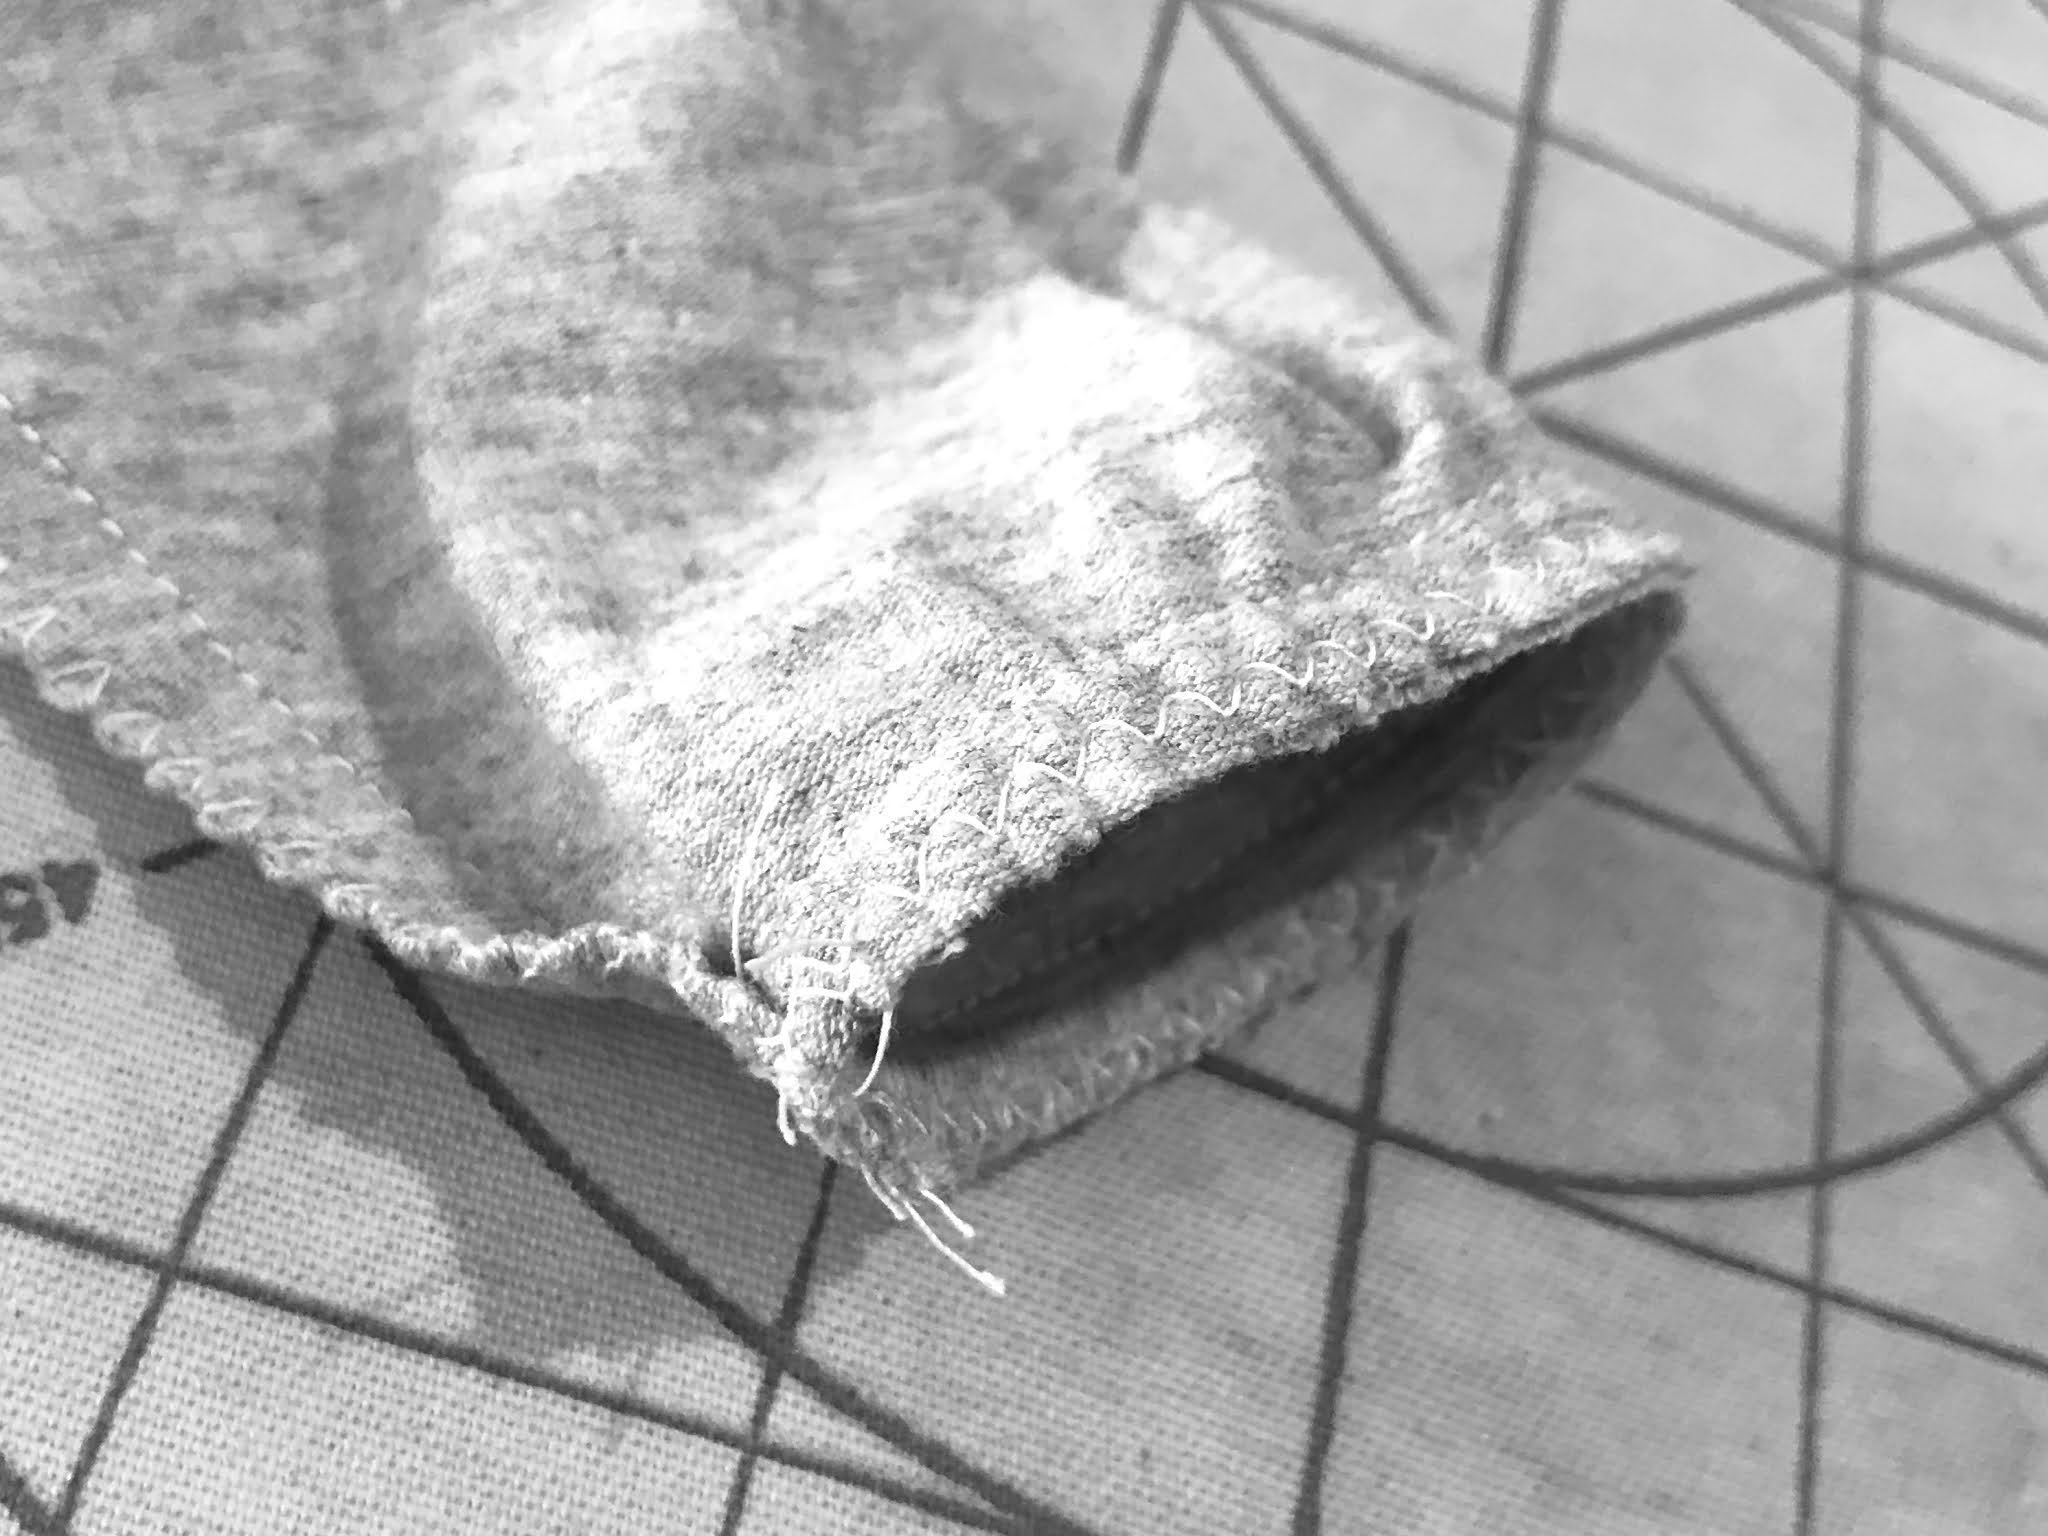
Turn pants inside-out. Insert one of the cuffs into one pants leg, folded edge first, right-sides-together and matching raw edges. Stretching cuff to match pants leg, pin in place. (I find it helpful to push the pins all the way in, so only the heads are sticking out.) Starting at the inseam, sew cuff onto pants leg with a straight stitch, pulling out pins after you pass them and making sure the sewing machine doesn't catch the pins. After sewing all the way around, without cutting the thread or taking your work out of the machine, switch machine to zigzag and finish the edges by sewing around one more time.
(If your sewing machine makes it too difficult to keep the pins under control as you sew, you can baste the cuffs on by hand. This may be necessary when doing the sleeve cuffs, which are even smaller.)
Take some of the cotton yarn or string (about 16") and tie a bow. Find the middle of the bow and untie the yarn, keeping track of where the middle of the bow is. Sew this spot in the front of the pants, right where the drawstring would be tied. Retie the bow. Tie a knot in the end of each end of the tie, right above the length you want each end to be. Trim off the excess, if any.
Sweatshirt:
If you cut two pieces across the grain, be sure to use those pieces as lining. Sew each pocket as shown, leaving the squared-off sides open. Trim off the corners. Press to set the seams. Turn to the right side and press again.
Take the front pattern pieces and match the pockets up with the lower and center edges of each piece, making sure that the grain lines of the pockets are vertical (lining inside, if it's different) and that the narrower edge of the pocket is up, as shown. Sew along pocket 1/4" at the top, backstitching as you begin. Then using a 1/8" seam, sew down the center front, pivot and sew along bottom edge still with 1/8" seam, then up the side of pocket with a 1/4" seam, ending with backstitching. (When you sew the zipper in, you will be using 1/2" from the center front. The bottom ribbing seam will be 1/4", so you want to stay within that, but this will keep the edges of the pieces together.)
Take the back piece and match up the shoulder with the two front pieces. Use pins if you like. Sew a 1/4" seam and finish with zigzag or serger.
Pin sleeves in place, easing any fullness along armscye. (I found it easier to sew with the sleeve piece up.) Sew in place, stretching gently and being careful not to get extra layers of sleeve under the needle. Finish seams. Match underarm seams, and pin front and back pieces and sleeve sides. Sew and finish seams.
Turn right-side-out and press seams to one side.
Fold bottom ribbing in half lengthwise and press. Pin evenly along bottom edge of sweatshirt. Sew with 1/4" seam and finish. Press seam up.
Fold the center front edges of the sweatshirt along fold line (1/2") and press. Take two sides of zipper apart. Making sure you have the zipper right-side out, move the zipper pull all the way to the top, out of the way and pin that side of the zipper to the sweatshirt front. Pin in place.

Here the voice of experience will recommend basting the zipper first, then sewing it down after you are sure the top edges of the pockets match. After you have basted one side, pull the zipper pull back down to the bottom, connect the zipper and then pin the other side in place, matching the pocket tops and the bottom of the ribbing, easing to get them to match. The fabric will stretch in a different direction when you sew, causing them to get out of alignment, so use lots of pins and baste first. When you are satisfied with the placement, separate the zipper, slide the zipper pull back to the top and sew both sides down. Then bring the zipper pull back down the sweatshirt front. Using a zigzag stitch and stitch length set on 0, stitch several times over the top of the zipper on each side, to keep the pull from accidentally coming off. This is just like sewing on a button. Be careful not to break your needle on the zipper teeth. Set your work aside.
Take the two hood pieces and fold each piece, right-sides-together. Sew together from the open end to the fold, tapering the seam before and after the fold to align with fold. Repeat for second piece. Press seam open as far as you can. You do not need to finish edges.
Put the two hood sections together, right-sides-together, matching seams and pin along open front edges. Sew hood sections together beginning and ending 1/2" in from the bottom of each side, using a backstitch to secure seam.
Press seam open. There is no need to finish edges. Turn right-side-out with hood lining to the inside. (It does not matter which way, unless you have cut one of the hood pieces across the grain.) Sew a 1/2" casing beginning and ending 1/2" from edge of hood, beginning and ending with backstitching. Take the 20" piece of cotton yarn or string and thread a yarn needle with it. Run the yarn needle with the yarn through the casing. Try the hood on now. Make a knot in one end and tie a bow under the dolls chin. Then cut the yarn the length you like and knot the other end.
Now you will sew the hood to the sweatshirt. You will sew only the outer hood piece to the body, then fold the inner hood piece under and sew by hand to the body.) Pin in place and sew and finish seam. Start by pressing up 1/4" along the raw edge of one hood piece.
Match the two ends of the unpressed side to the body of the sweatshirt.
Pin the raw edges together as indicated in photo.
Sew together with a 1/4" seam. Press seam up. There is no need to finish seam. Match pressed 1/4" edge of other side of hood with stitching on the wrong side and sew closed with a blind stitch. If you catch the exposed stitches of the seam it will be invisible on the other side. Press seam again.
Finally, you will sew the cuffs. Fold the cuffs and sew short ends together, as for the pants cuffs above. Press seam open. Turn right-side out and fold in half so the raw edges are together. With right-sides together, sew to the bottom edges of the sleeve. (As these cuffs are smaller, you may find it helpful to hand-baste the cuff in place first, so you do not have to deal with having pins get in your way.) Repeat with other sleeve.
The finished hooded sweatshirts should look like this:
Pattern Pieces:
Revision 1, 8/5/21
This pattern is protected by copyright. Any items made from it may be sold.
Copyright © 2021 by Peggy Stuart